
10 Splitboarding Tips to Make Life Easier
Things have changed; my first splitboarding experience had me swearing as I struggled to get over a tiny slope while watching my so-called ski touring friends vanish around a corner.
Those were the fledgeling days of splitboarding, and the kit was either homemade or quite simply not fit for purpose. I’d often feel like an out of tune one-man-band clanging my way up the mountainside.
Although there’s still a lot of room for improvement kits is far better now, and over numerous tours in some far-flung destinations thankfully so is my technique. I’ve managed to hone down some methodology, alongside a trusted selection of kit, so here are my top ten tips to make splitboarding tours into the backcountry a whole lot more enjoyable.

Read Understand and Act on the Avalanche and Weather Forecasts
Ignorance and youthful enthusiasm will only get you so far. We’ve all had close scrape in the mountains, that’s how we learn, but before you set off you must read - and more importantly - understand the local avalanche advice.
It’s always best to read both forecast the night before, and plan a route around them. Don’t take risks with the forecast by getting sucked into a pre-planned goal, this is especially important when on a short holiday. You may have pawed over maps and guide books while at home, and set yourself realistic goals for the holiday, which with unfavourable conditions are now no longer tenable. The mountains will always be there for another trip, push the forecast too far and you may well not be!
Start Cold
I’m not encouraging you to set off shivering, but you should always start a little cold, as it’s a real pain to be continually stopping and taking your bag off later to lose a layer - “Be bold, start cold”.
It’s often hard to gauge how you’ll feel on a climb, as you’ll of probably of jumped out of a warm car and then stood around at the trailhead in the cold while getting set up, or you could have used a cold chair lift to gain some altitude, but nine times out of ten once you start skinning, especially if it’s steep, you soon warm up and be stripping layers, so starting a little cold is a good thing. Obviously, if you don’t warm up then don’t stay cold, as it’ll use up your energy quicker than an overhanging ice-climb.
Caveat - even on spring days always have warm clothing in reserve, as you’ll soon chill down when stopping to eat, on transition or if you have an accident and end up lying on the snow with your leg tucked behind one ear.

Skin Slow with good Technique
Slow is smooth, and smooth is fast!
Don’t rush when in the mountains, take time to enjoy yourself. Treat the skin up as part of the fun, we all love the descent but try to see a tour as a whole day thing, not just a means to get to the good bit. Take in your surroundings, listen to the snow pack, look around at the mountain tops and surrounding slopes, take in all the knowledge on offer to keep yourself safe.
Slide your feet forwards at an even pace without lifting the board off the snow, when in ski mode. Over the course of a long day all the extra effort of lifting the board, which is often covered in snow, with every stride will soon add up. Keep your skins in contact with the snow, especially on the steep or in icy conditions, try not to force the edge in but let the full skin grip the snow, doesn’t always work but you’ll soon hate traverses if you’re constantly on your ski edges as its very uncomfortable in soft boots.
Get those kick turns dialled in, rather than taking a big swinging step with the downhill ski, plant your poles wide and try to shift most of your weight onto the uphill ski bringing the other ski as closed to your standing foot as possible (easier said than done).
Gaffa Tape, Cable Ties, VOILE straps
I’m often laughed at when I pull these out of my bag and by all means you should pack a multitool and a few spare straps/buckles, especially when on expedition far from a glitzy snowboard shop, but it’s amazing how many times a bit of gaffa tape, some Voile straps and a few cable ties will get you off a mountainside.
From mending bindings to boots and bag straps to sunglasses I never tour without these bad boys in my bag. You can wrap some tape around one of your poles, so its always with you, but if it’s really cold the glue can become brittle and if very hot it can become a tacky stick-fest, so I always keep a little tape deep inside my pack. About cable ties, well if they can hold a Guantanamo Bay inmates thumbs together behind their back then it’ll hold your boot together when your power strap snaps. And as for Voile Straps, connecting your ski tips when bushwacking with your board on your pack, or use in place of a skin if your glue has failed (carrying up to 4 of these is a good idea, they weight nothing) - these guys will cinch down anything, and best of all can be un-cinched too.
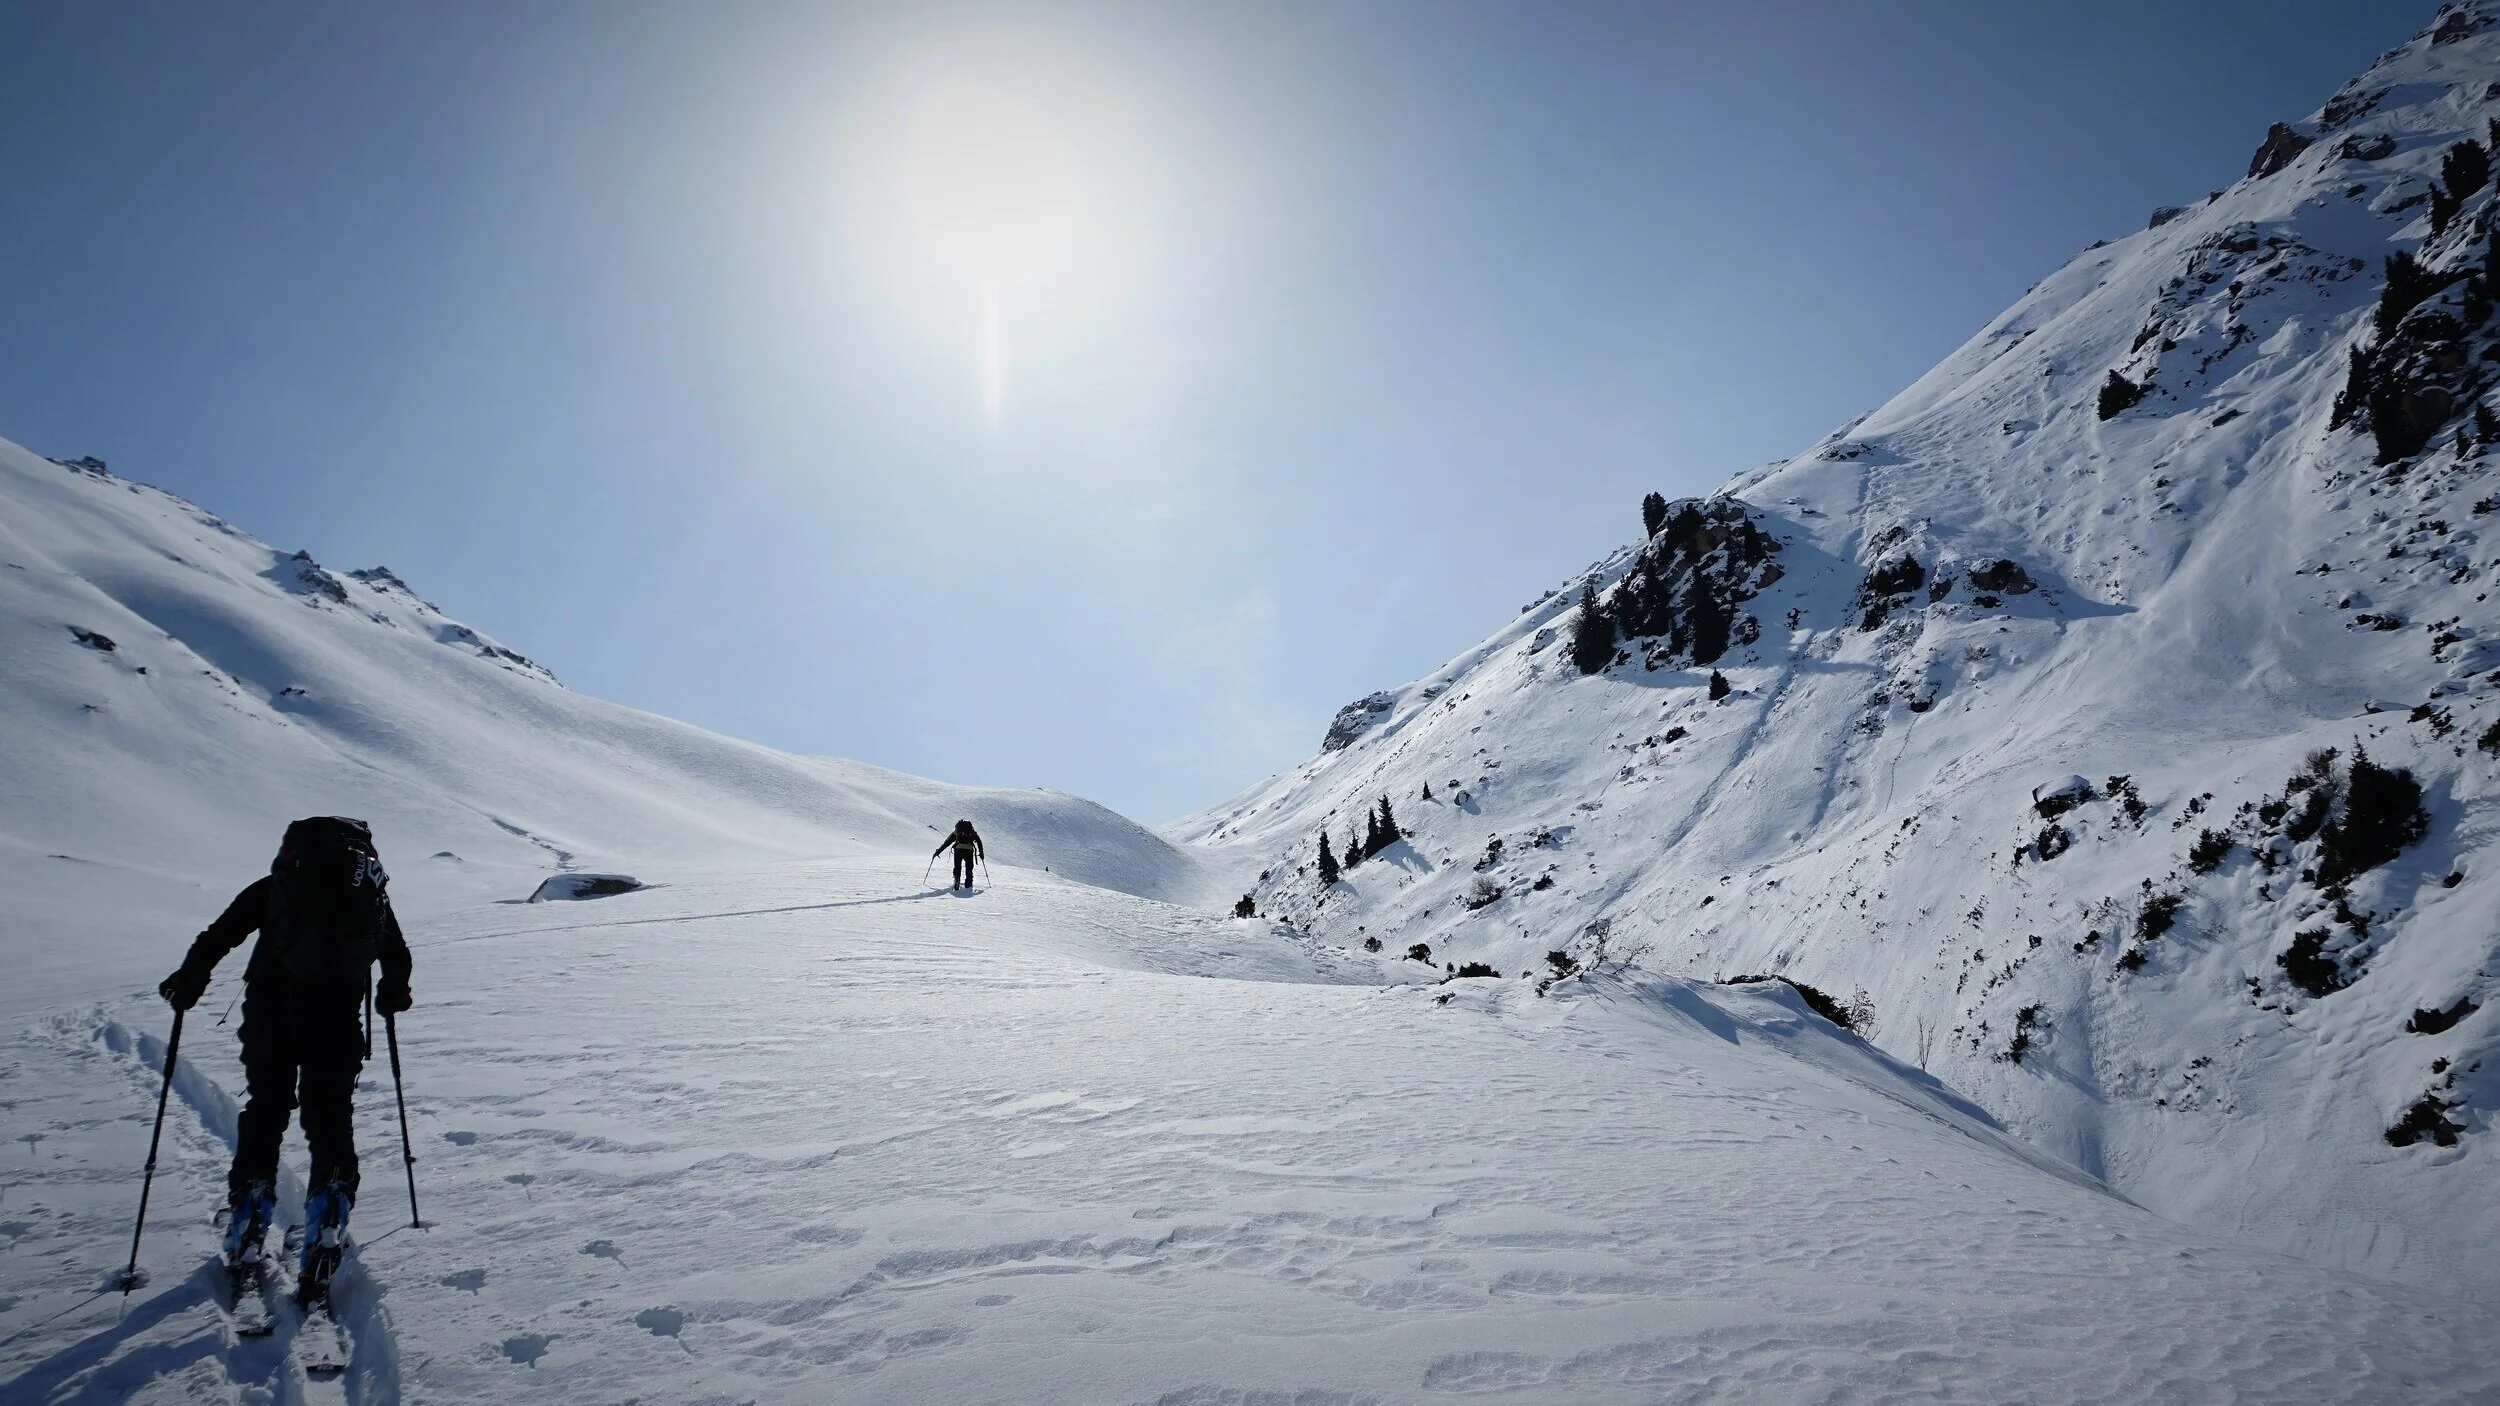
Easy APPROACH ANGLE
Try, if at all possible, to choose low angle approach routes. There are many reasons for this but the main two are safety and ease of travel.
We’re at our slowest and most vulnerable when in ski mode so keeping safe by choosing the correct route is vital. Seldom are avalanches triggered on slopes under 30 degrees, so keeping on low angle slopes will keep you safe (ish), there is always danger from the steeper slopes around you and you should try to avoid any possible avalanche runout zones, but as a general rule sticking to slopes 30 degrees and under mitigates risk levels.
A steep slog with continual kick turns or long traverses on one edge, while often unavoidable, are both tiring and sometimes uncomfortable. Keeping your skis flat on the snow, while climbing a mellow pitch, will help maintain energy levels, your temperature regulated and allow for conversation to flow.
“Skin mellow, ride steeps” is a good mantra, but don’t forget Tip 1 and respect the forecasts.
Build your own first aid kit
You must carry a first aid pack, not just for you but for your crew too. I’ve built up my own, with mainly military grade products, most of which I’ve sourced from the excellent Israeli First Aid. Off the shelf kits are ok but do you really need a triangular bandage or a crap pair of scissors that couldn’t cut a queue let alone through thick Gore Tex pants.
On top of wound bandages, the musts for all kits are an emergency blanket, pain killers, safety light-stick (the ones you bend to mix the fluids to create light), anticoagulant powder (which you pour onto open wounds to help stop the bleeding), safety-pins (easiest way to immobilise a broken wrist by pinning sleeve up to victims chest), tourniquet, micropore tape and sharp scissors.

Transition
Practise your transition. There is no real set way of going about this but a fast transition will stop you getting cold, and also stop skiers from bitching while they wait for you, as they always seem to be ready to go before you’ve even had a summit snack.
I like to dig both skis upright into the snow, so they won’t slide off, take off my bag and then deal with removing one skin at a time, then remove the bindings, before rebuilding the board.
If it’s a super flat transition zone I’ll take the bindings off first, before removing the skins, as they can knock around and catch on your cold hands.
I collapse the poles last, keeping them easily accessible for any flats. Some people like to ride with a pole in their hands, and I will if I know there’s a flat coming up, but I much prefer to ride with them on the outside my pack, although care needs to be taken that they can’t catch when riding in the woods.
Merino snood/buff/neck scarf
Possibly the most versatile pieces of kit you can get to keep you warm. I use mine as a hat on the way up, once warm just around my ears leaving the top of my head uncovered and if I’ve got a helmet around my neck on the way down, not just to keep me warm but to stop the spays of well-earned powder from going down my front.
You can also use it as a makeshift tourniquet by spinning a section of poles within it, you can blow your nose on it and yes you can even wipe your ar…

Extra Gloves
Gloves weigh next to nothing so I always take an extra pair up the mountain. Unless it’s really deep winter your hands will soon be too warm once you get skinning, so I always wear a very thin pair of merino gloves under a mid-warmth fleece outer leather palmed glove. I back these up with a more insulated resort glove that I wear on the way down.
At this point I have to admit my love affair with Hestra Gloves. A few years back I had the luck to ride with the grandson of the company’s founder, and I’ve never worn another brand since. I know they’re expensive, but buy cheap pay twice.
My glove fetish doesn’t actually stop there, as I also have a pair of Gore Tex shell mitts, tucked in between my ski crampons, along with a multi tool. I have the mitts as if it rains or gets stupidly cold you can sling them over your resort gloves, keeping those precious little fingers snug and dry.
Down Jacket in waterproof stuff sacks
I always have a spare down jacket in my pack. I like to squeeze a down gillet into a waterproof stuff sack, as if it all goes south it’ll keep your core warm as long as the down is dry. I carry it on top of all my normal layers just in case of emergency or I’ve under packed warm clothing in the spring.
Plus, if you pop a little air in the stuff sack and it makes a great pillow for hut nights, when wild camping, or even on long lazy lunches.